The Start menu has been redesigned with each major Windows version since Windows 8, and Windows 11 is no exception. But this time, Microsoft adopted a bold strategy: the Start menu has just two sections—pinned apps and recommendations—and the taskbar is centered. Live tiles have also been removed from the menu. You can alter the appearance and feel of the Start menu, or delete it entirely, if you are not content with it as it is now.
Make the Pinned apps section actually usable
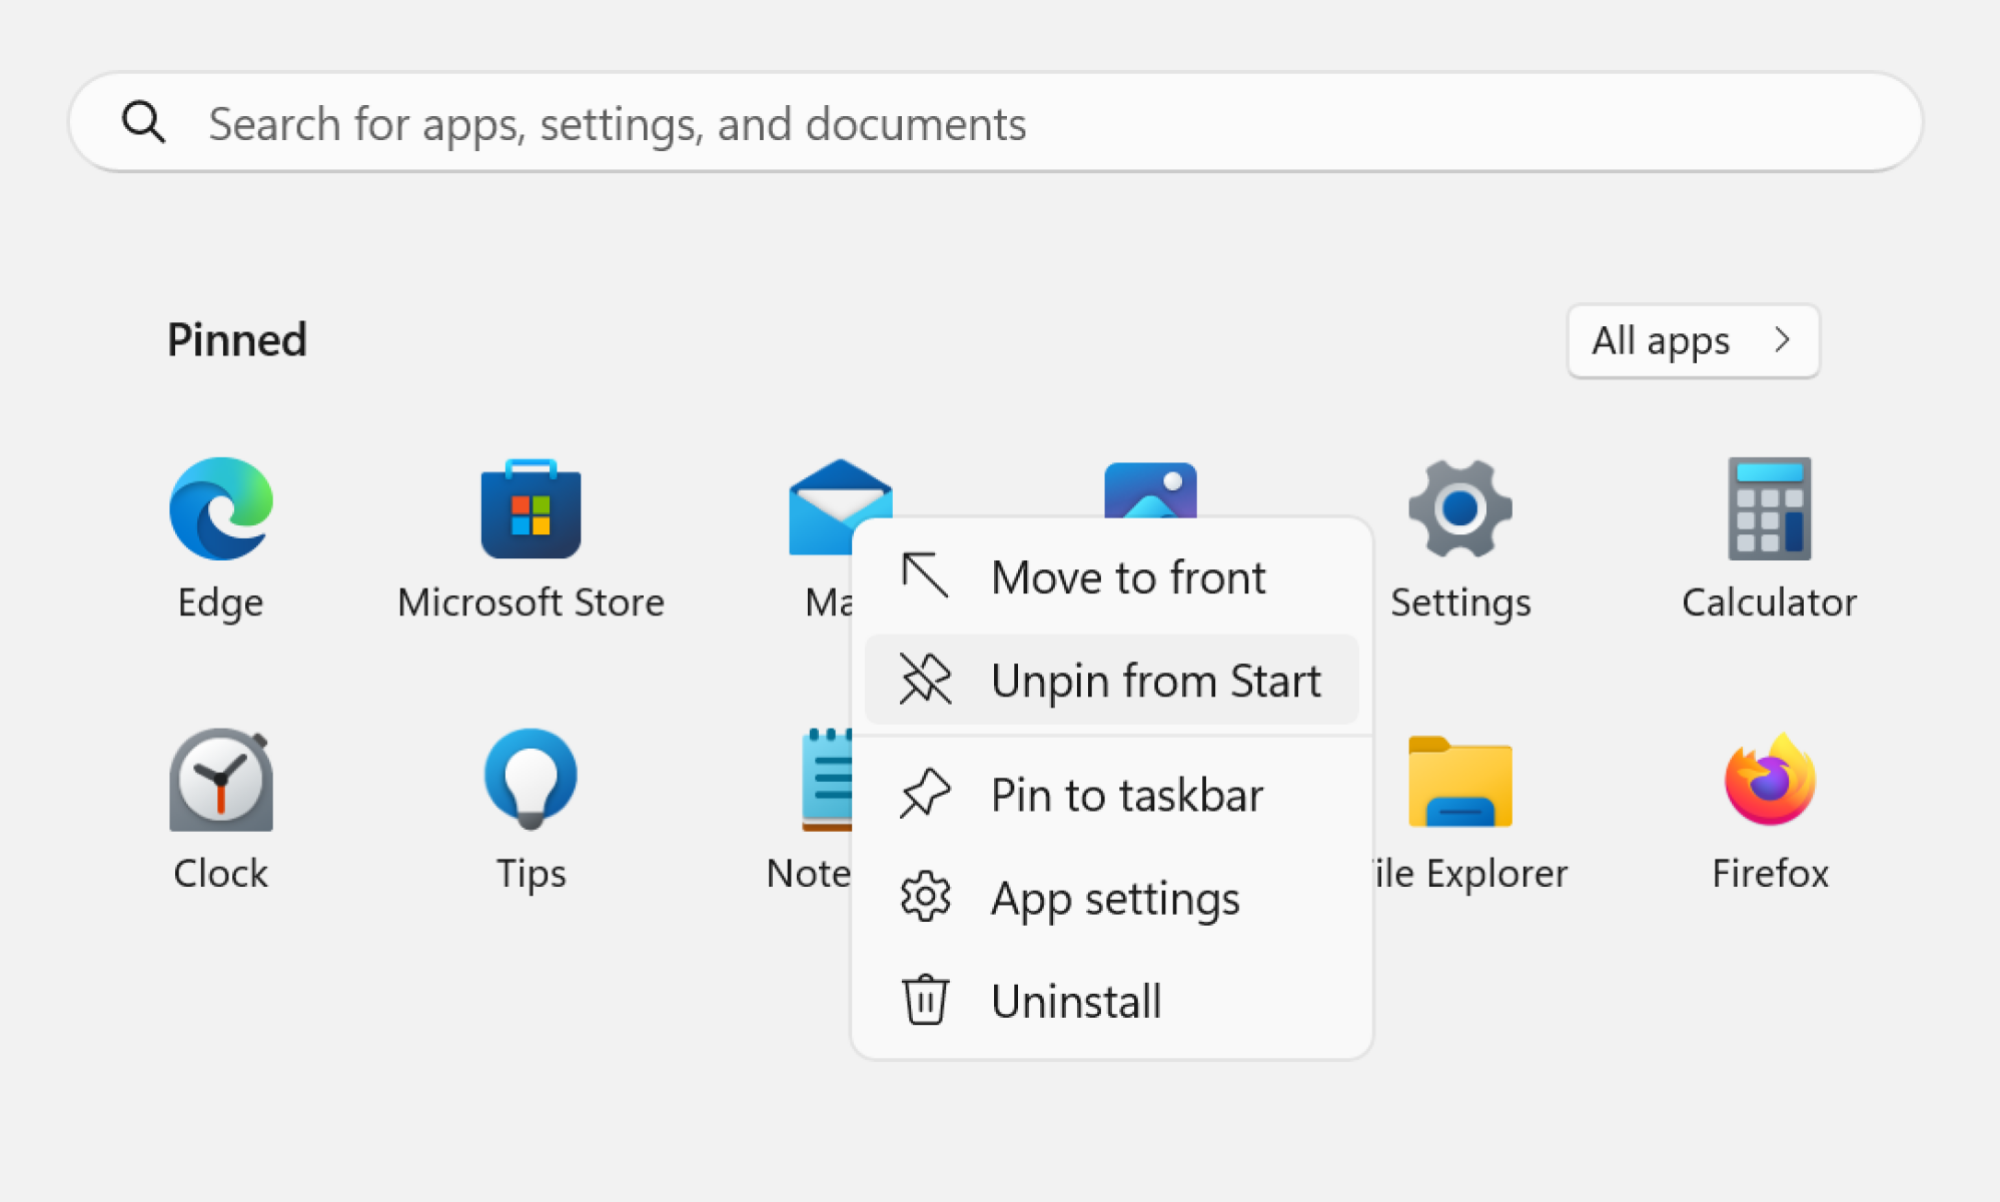
First, let us personalize the one significant area of the Start menu that remains (sad Live Tiles). You may find a list of apps that are pinned to the Start menu in the Pinned area. To get a list of every installed application, click the “All Apps” icon. However, by default, the Pinned section will only provide a list of programs that are mostly from Microsoft. We advise pinning the apps you intend to use and removing the default programs from your PC once it is configured.
Any app in the Pinned area can be right-clicked to reveal the “Unpin from Start” menu. Navigate to the “All Apps” area, select “Pin to Start” with a right-click on any program you wish to pin.
After all of your desired apps are pinned, you may reorganize them by dragging and dropping them in the desired order.
Remove the bloatware
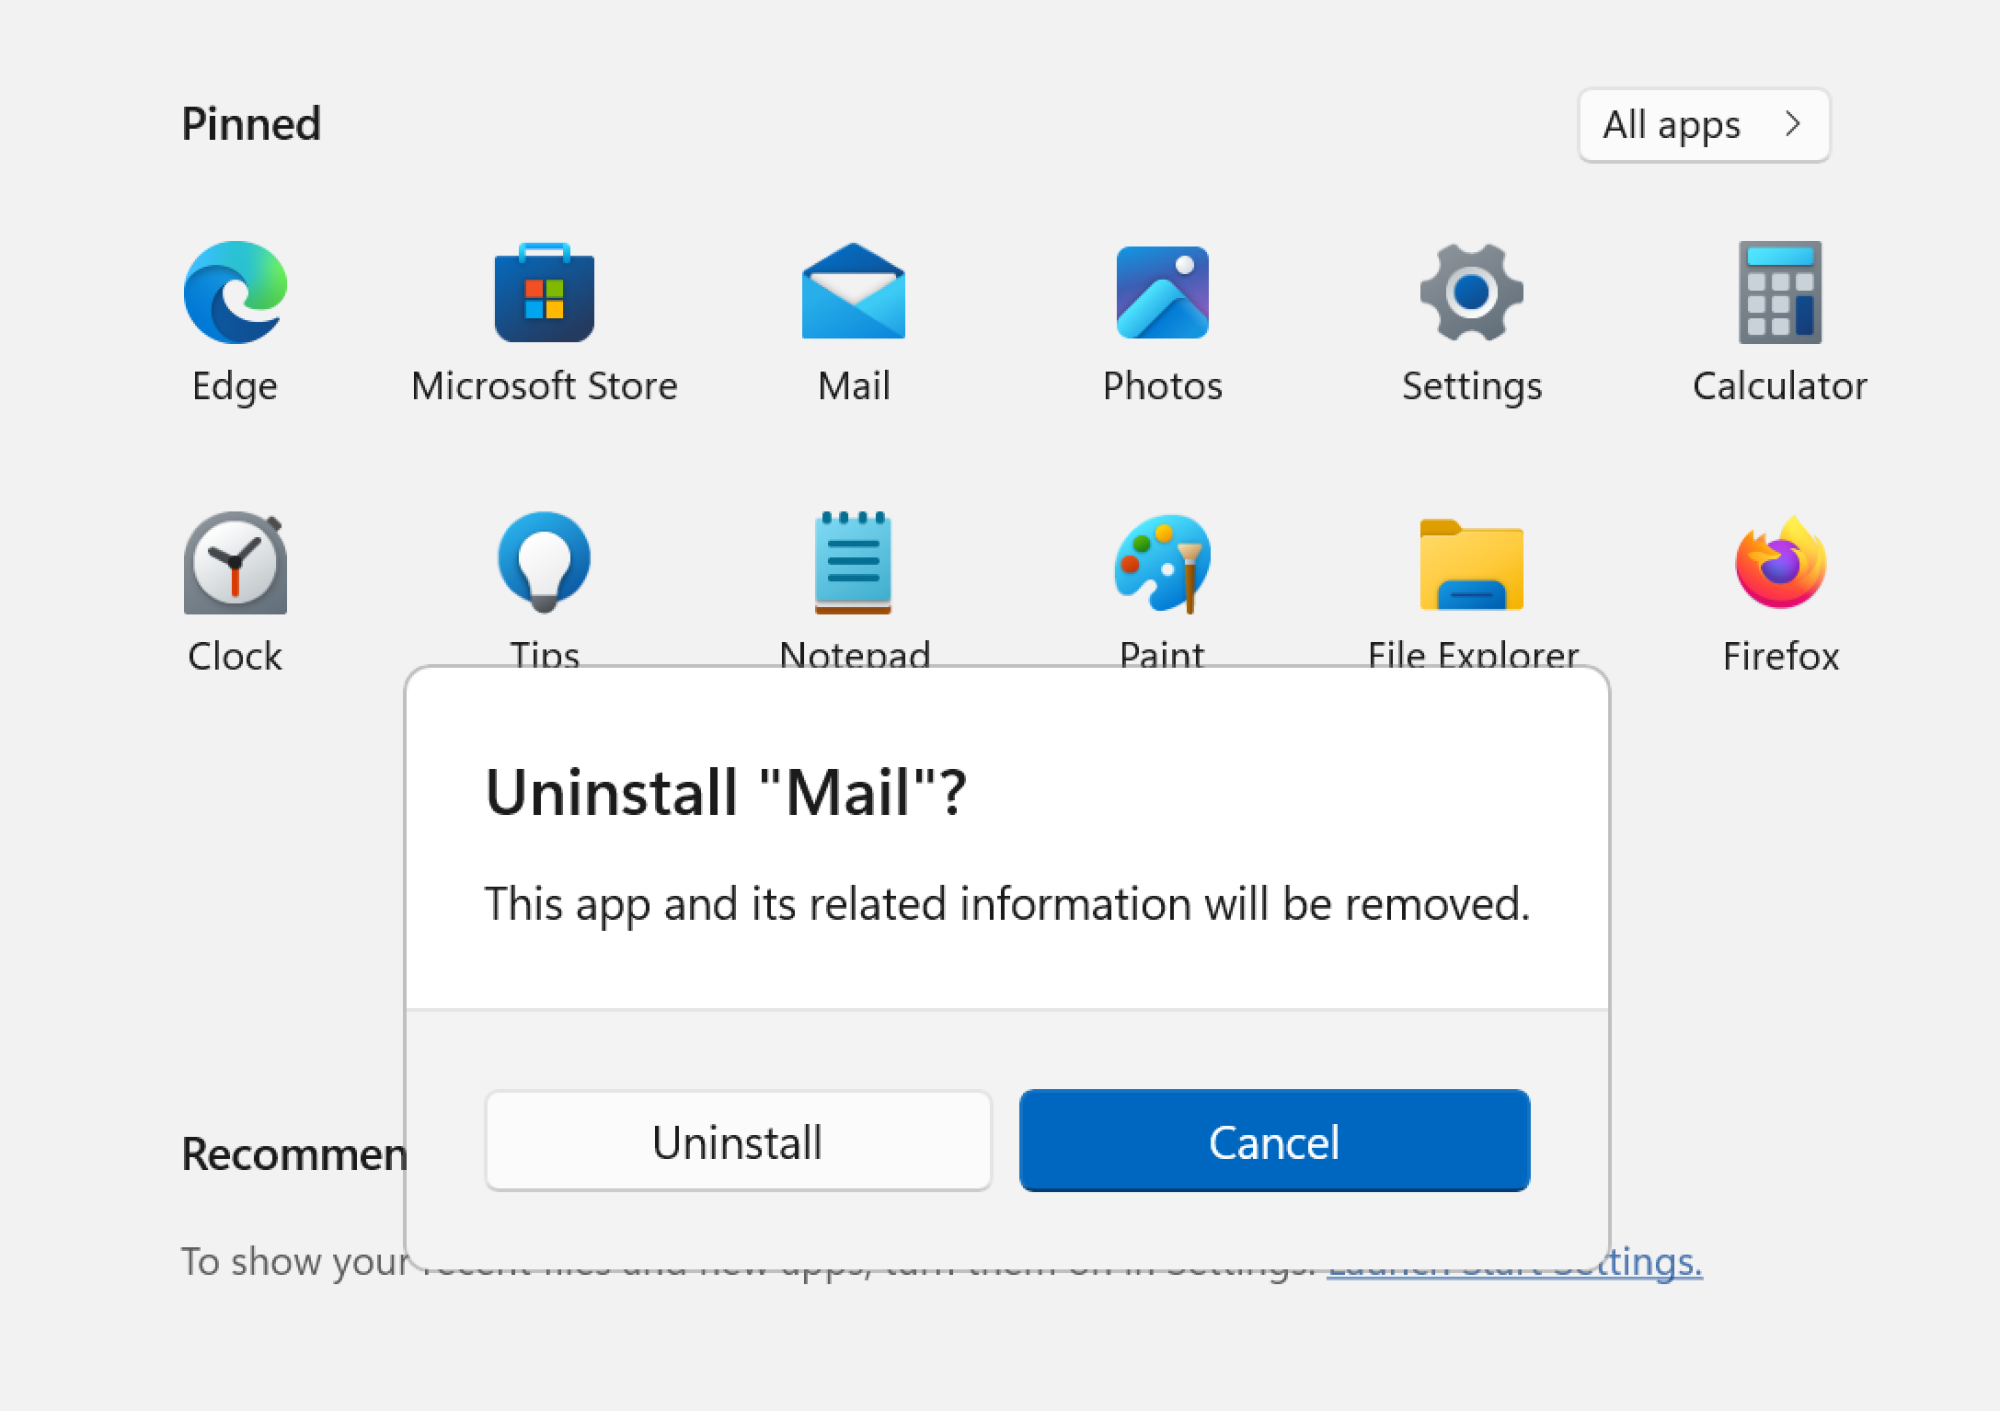
It is likely that a ton of bloatware came with your brand-new Windows 11 laptop, which will also block your Start menu. To be honest, is it really necessary for TikTok to appear on your Start menu whenever you try to look for a work app?
Fortunately, Microsoft has made it simple to uninstall this software. Select the program you wish to uninstall by right-clicking on it in the Pinned section. From the context menu, select Uninstall. From the popup that appears, select Uninstall once more. Do the same with every unwanted app. Go to the Start menu’s All Apps area and follow the same instructions there for a more comprehensive uninstall.
Disable the Recommended section
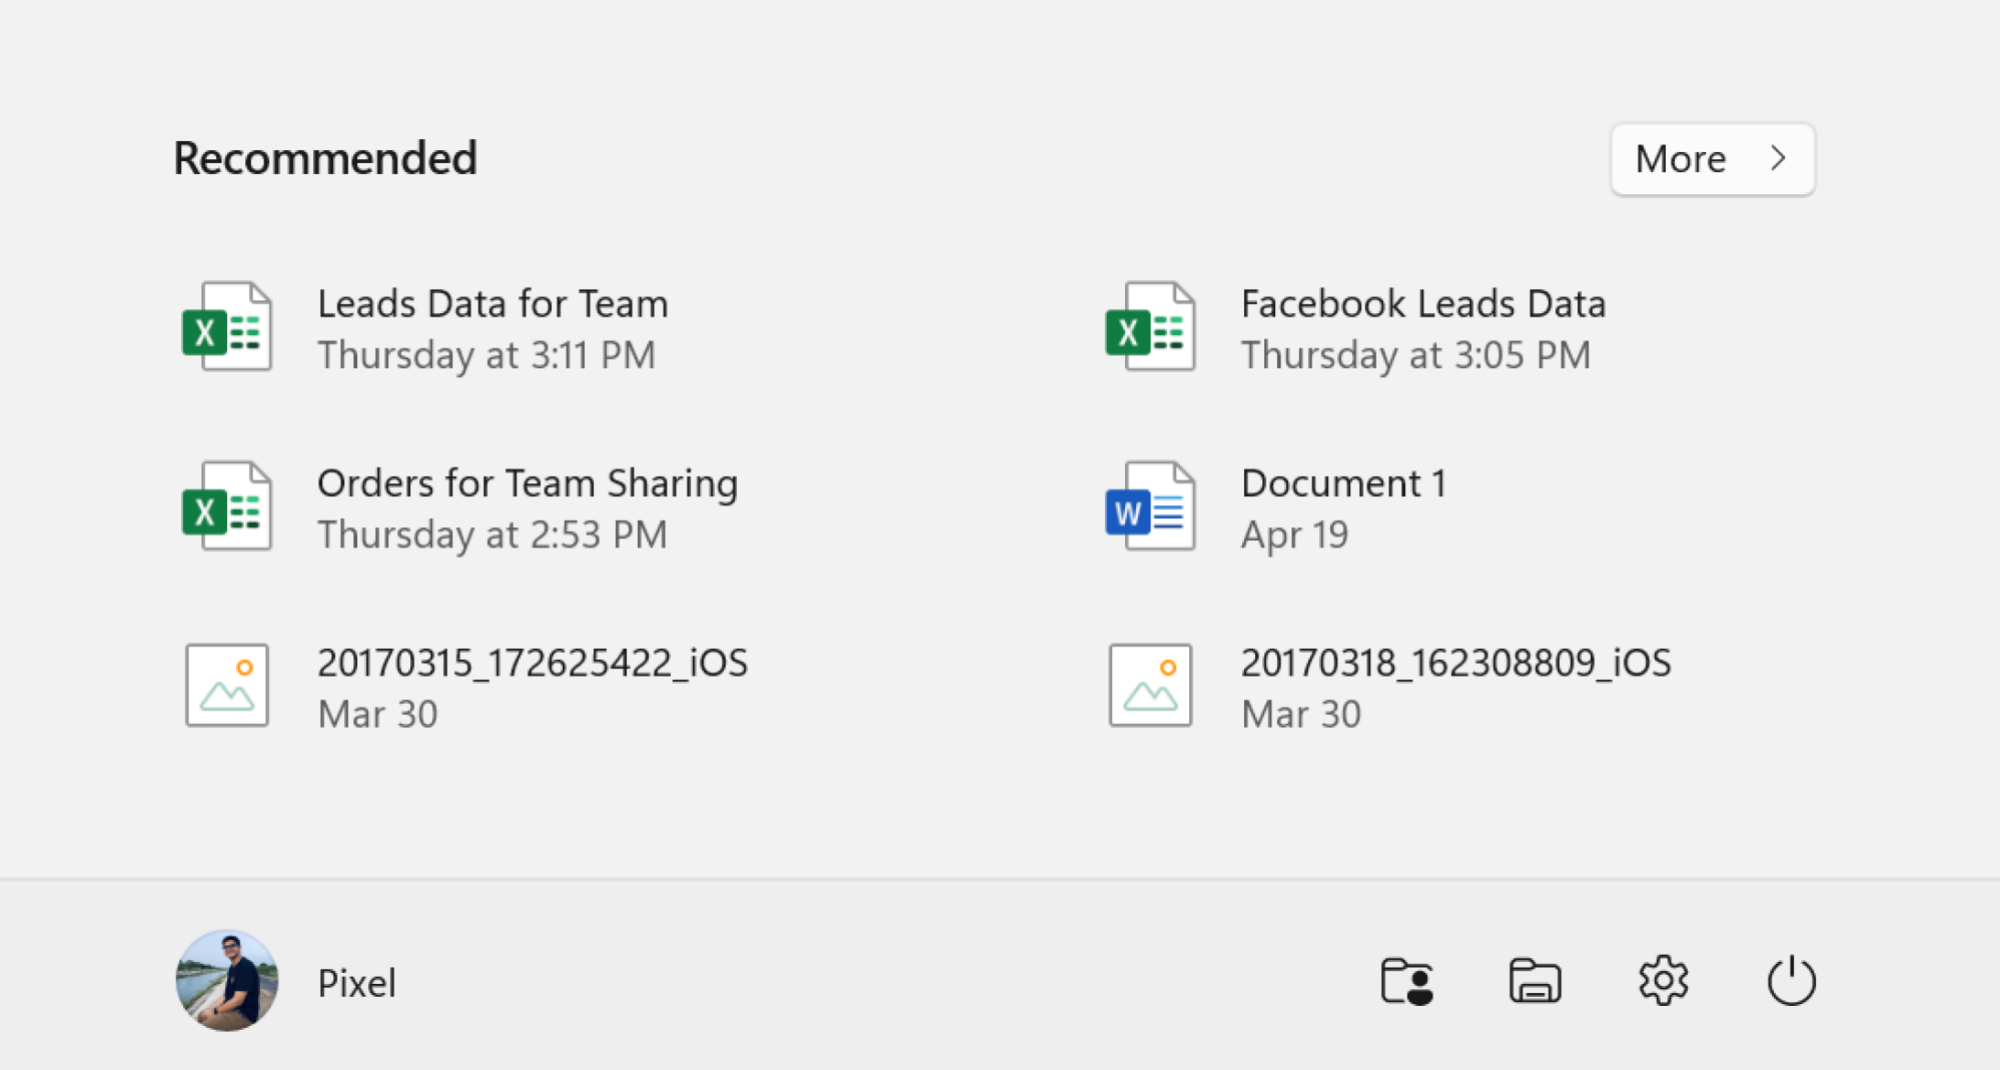
Microsoft claims that the new Recommended area is the highlight of the Start menu. You will see recently uploaded files, newly installed programs, and recommended apps here. It is not always accurate, though. This area cannot be completely removed, but it can be made less noticeable.
To disable “Show recently opened items in Start, Jump Lists and File Explorer,” navigate to Settings > Personalization > Start.
Add quick access folders and shortcuts to the Start menu
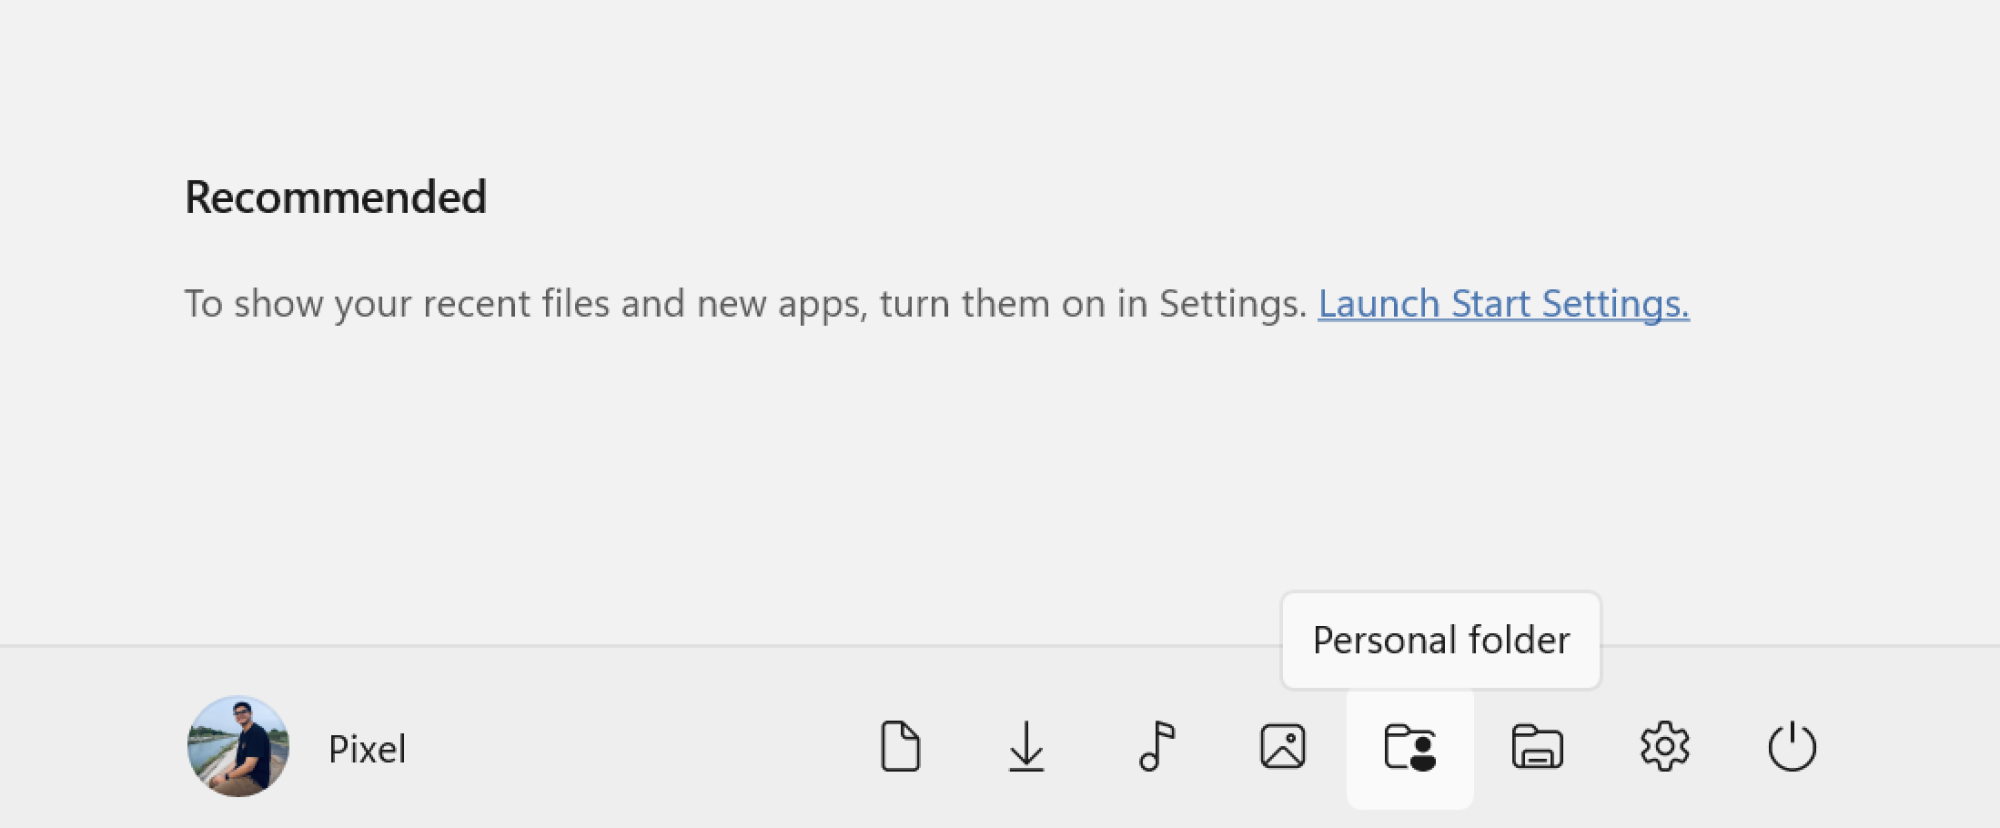
The little power button is located in the lower-right corner of the Start menu. But it seems so lonely out there. Add shortcuts and fast access folders to the bottom of the Start menu to give the little fellow some competition.
Navigate to Folders under Settings > Personalization > Start. Turn on the features or folders you wish to be shown. (We suggest adding “Personal Folder,” “Downloads,” “File Explorer,” and “Settings.”)
Put the Start menu back on the left
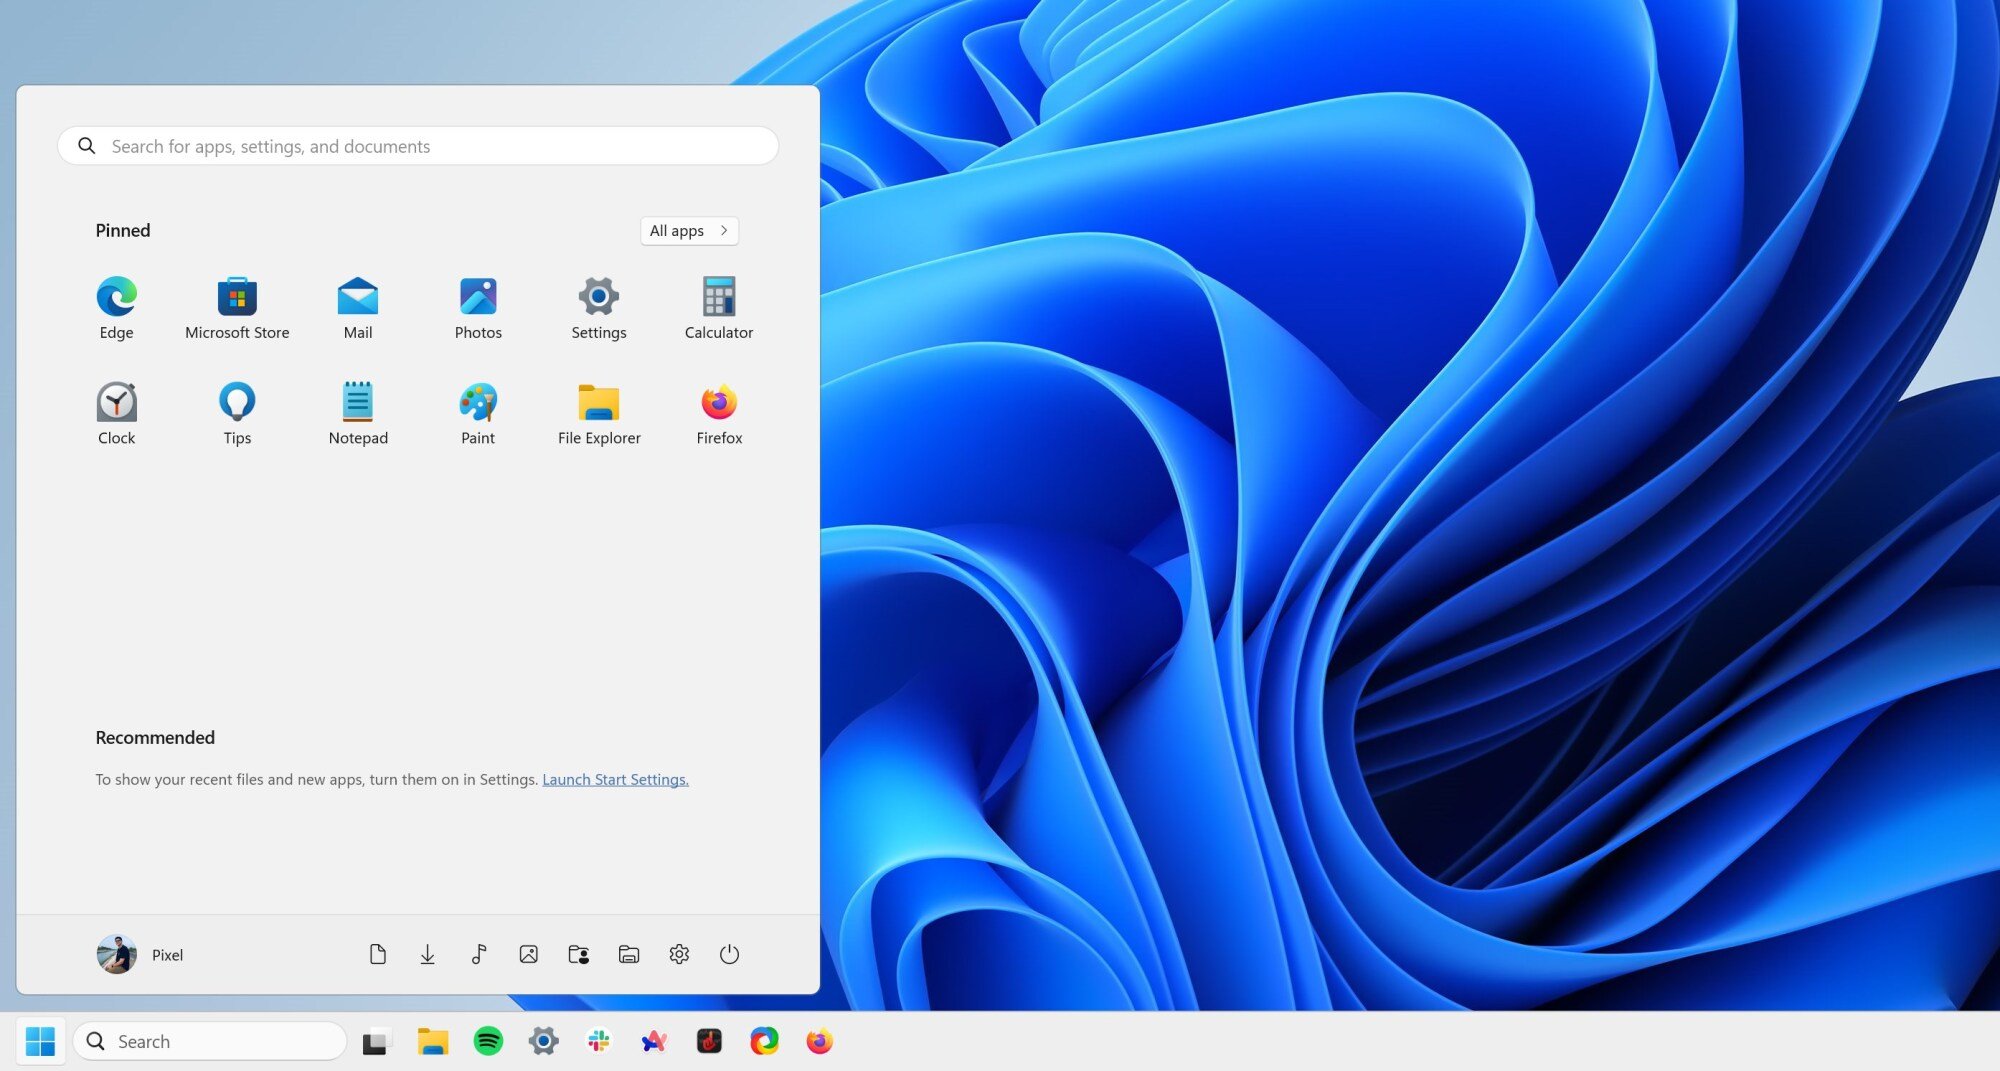
Not simply the appearance of the Start menu has changed. Additionally, it is the placement. You can move the Start menu back to the left-hand corner if you do not like that it is right in the middle of the screen.
Navigate to Taskbar Behaviors under Settings > Personalization > Taskbar. Here, select “Left” from the “Taskbar alignment” menu.
Right-click for a menu that’s actually useful
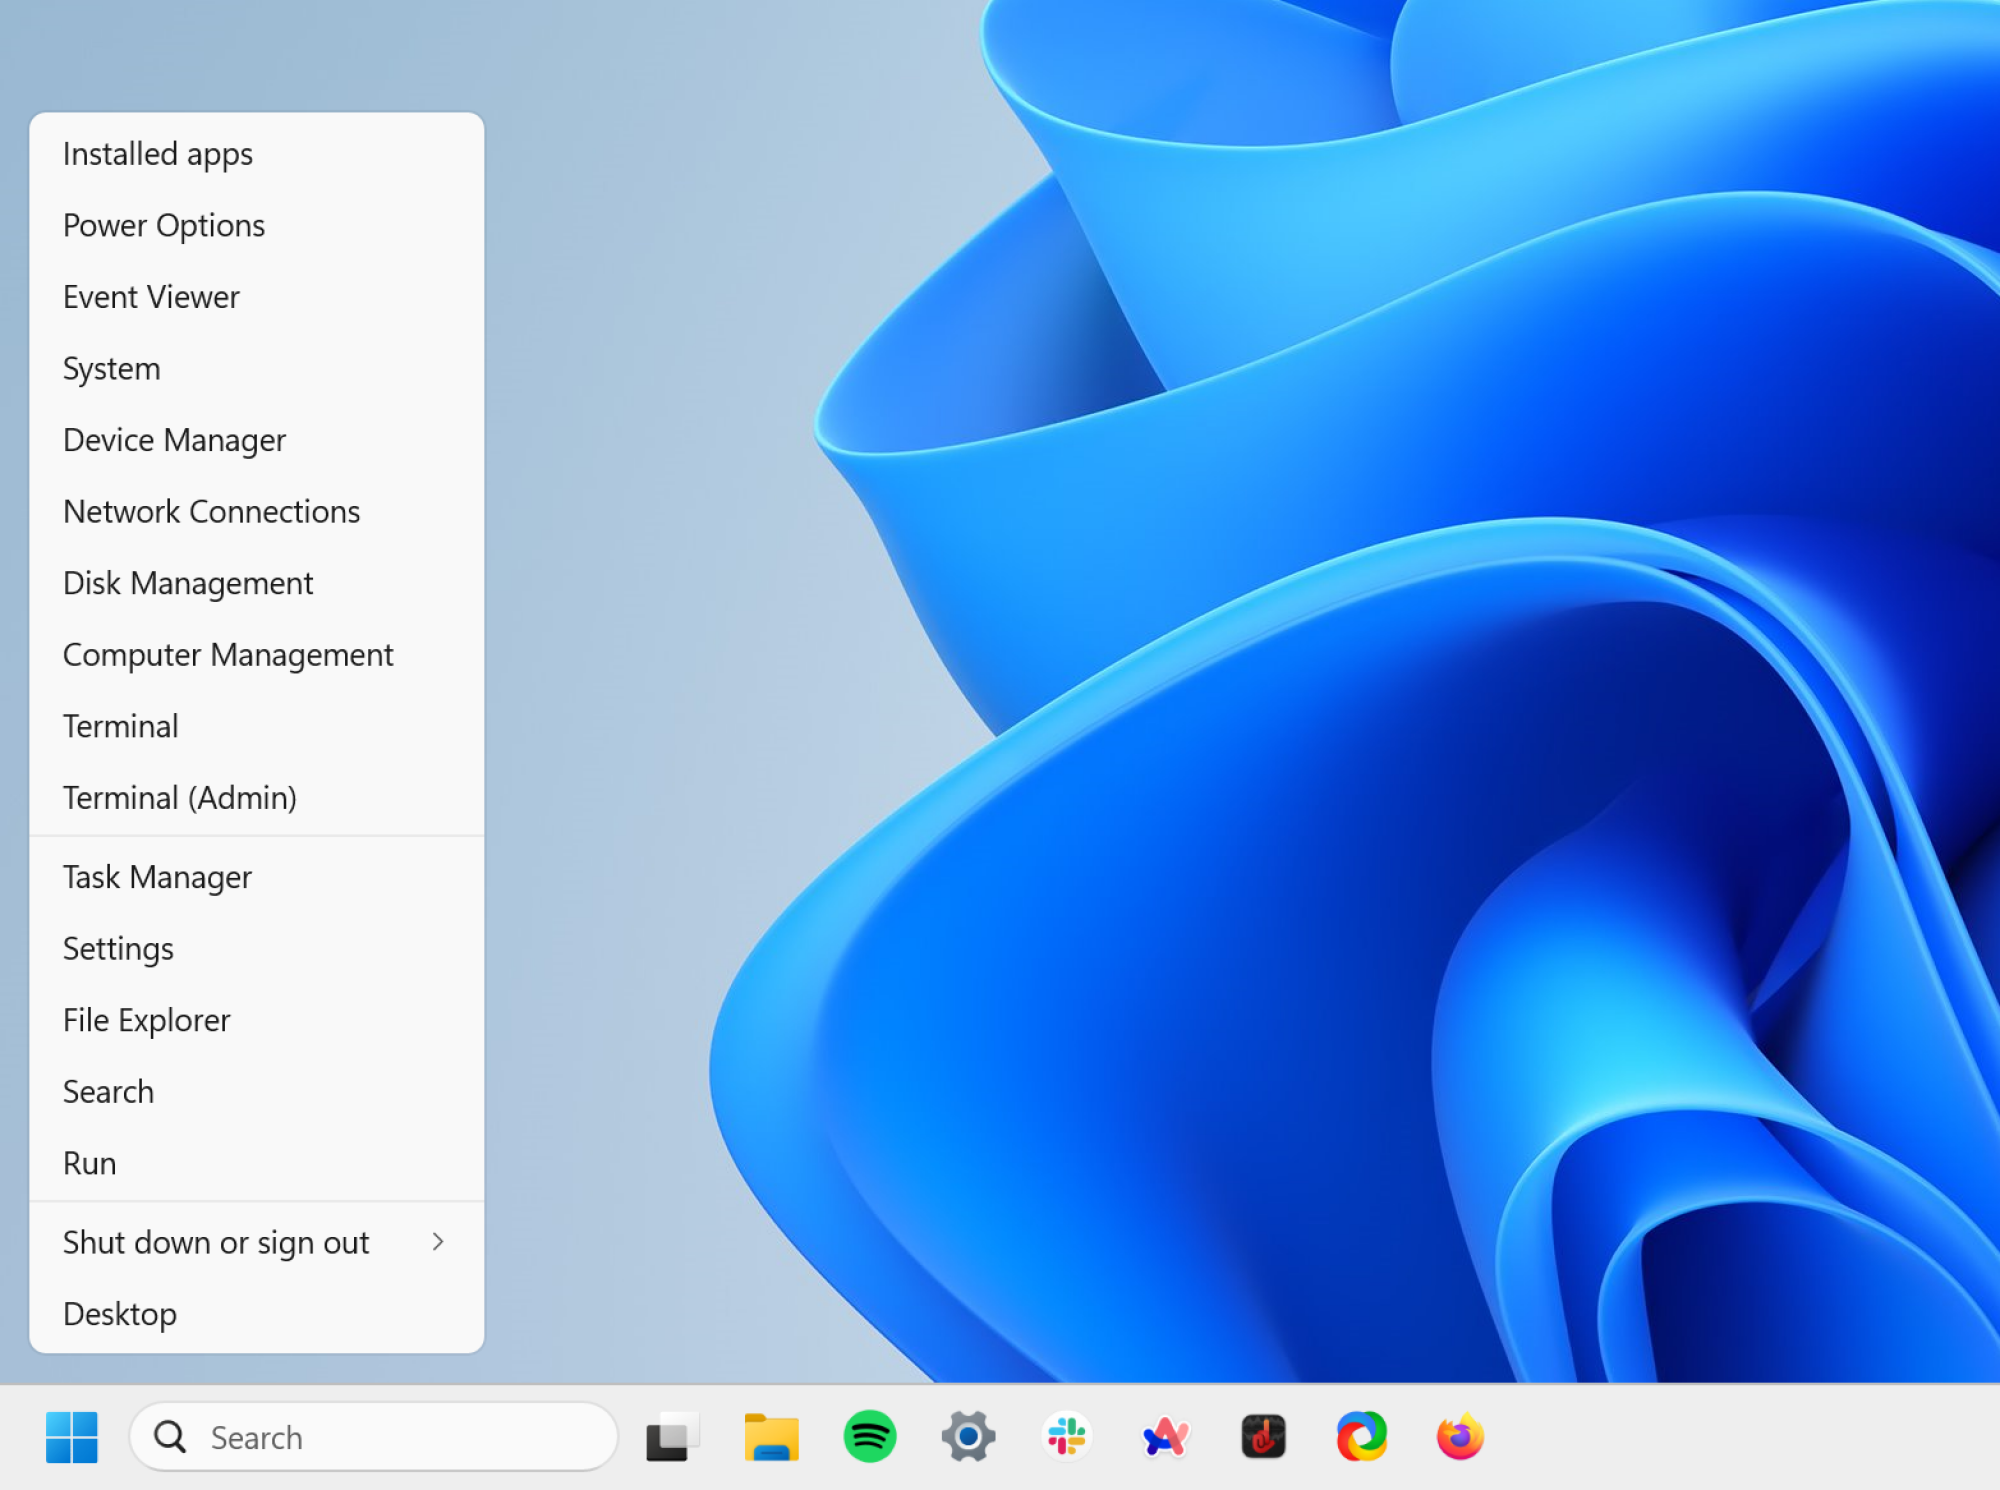
One may argue that the hidden Start menu is far more helpful than the official Start menu. You can access a list of choices by right-clicking on the Start button. You can rapidly access Settings, Task Manager, Desktop, Terminal, and many more apps from this location.
Create the Start menu of your dreams with Start11
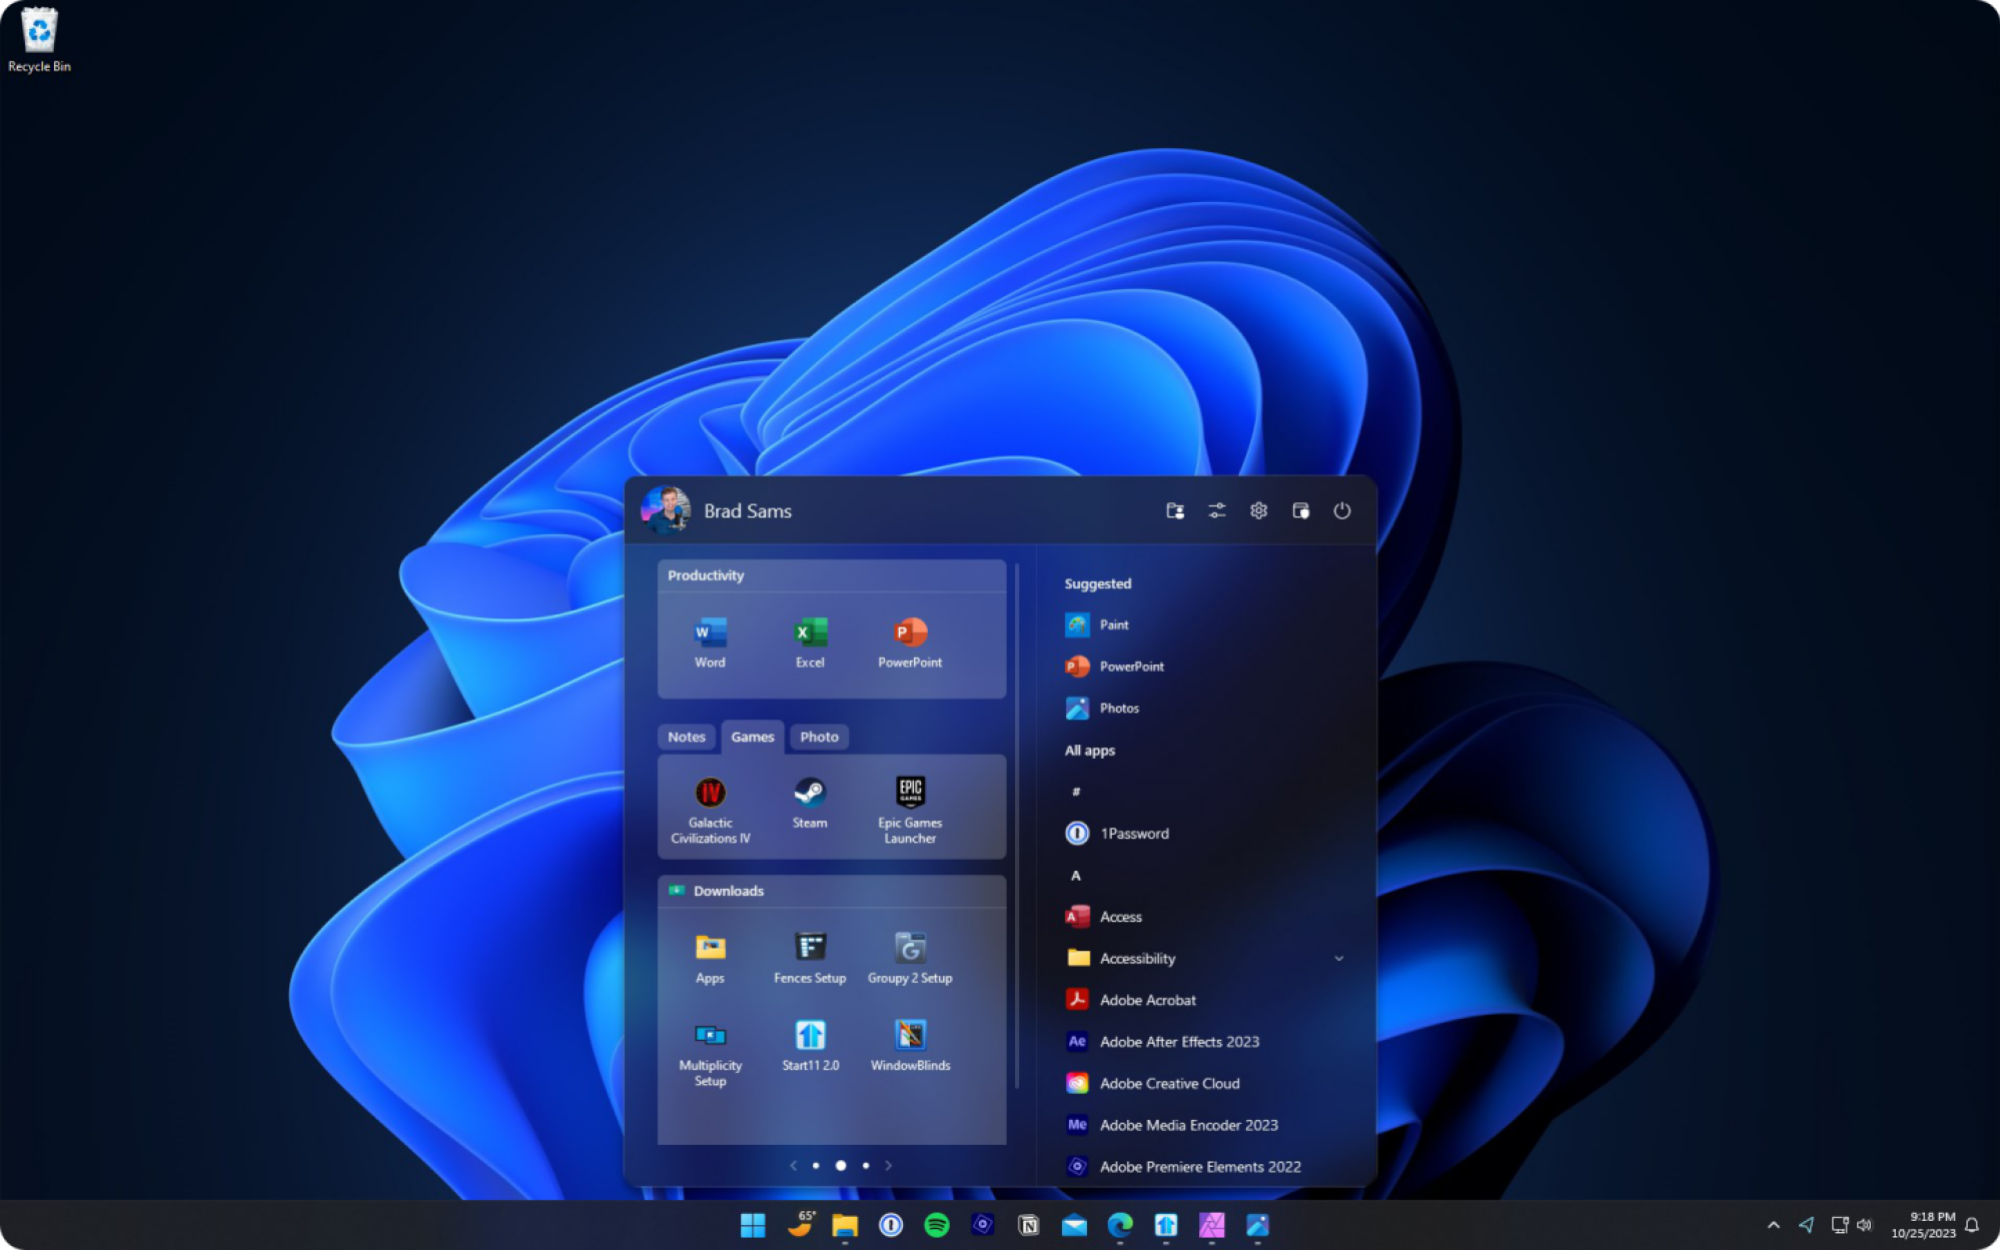
You may feel that these modifications are insufficient even after you have made them. It is time to return if you are unable to get the Windows 11 Start menu to function for you. Install the Start11 app (it costs $5.99 after 30 days of free use). With the help of this app, you may get back the start menu that looks like Windows 10. You get customized menus, a search field at the bottom, a two-pane design that is identical to this one, and more.
Additionally, you can alter this to your heart’s content. If you would like, you may even restore the full-screen Start menu similar to the one in Windows 8.
Use ExplorerPatcher for a no-nonsense Start menu
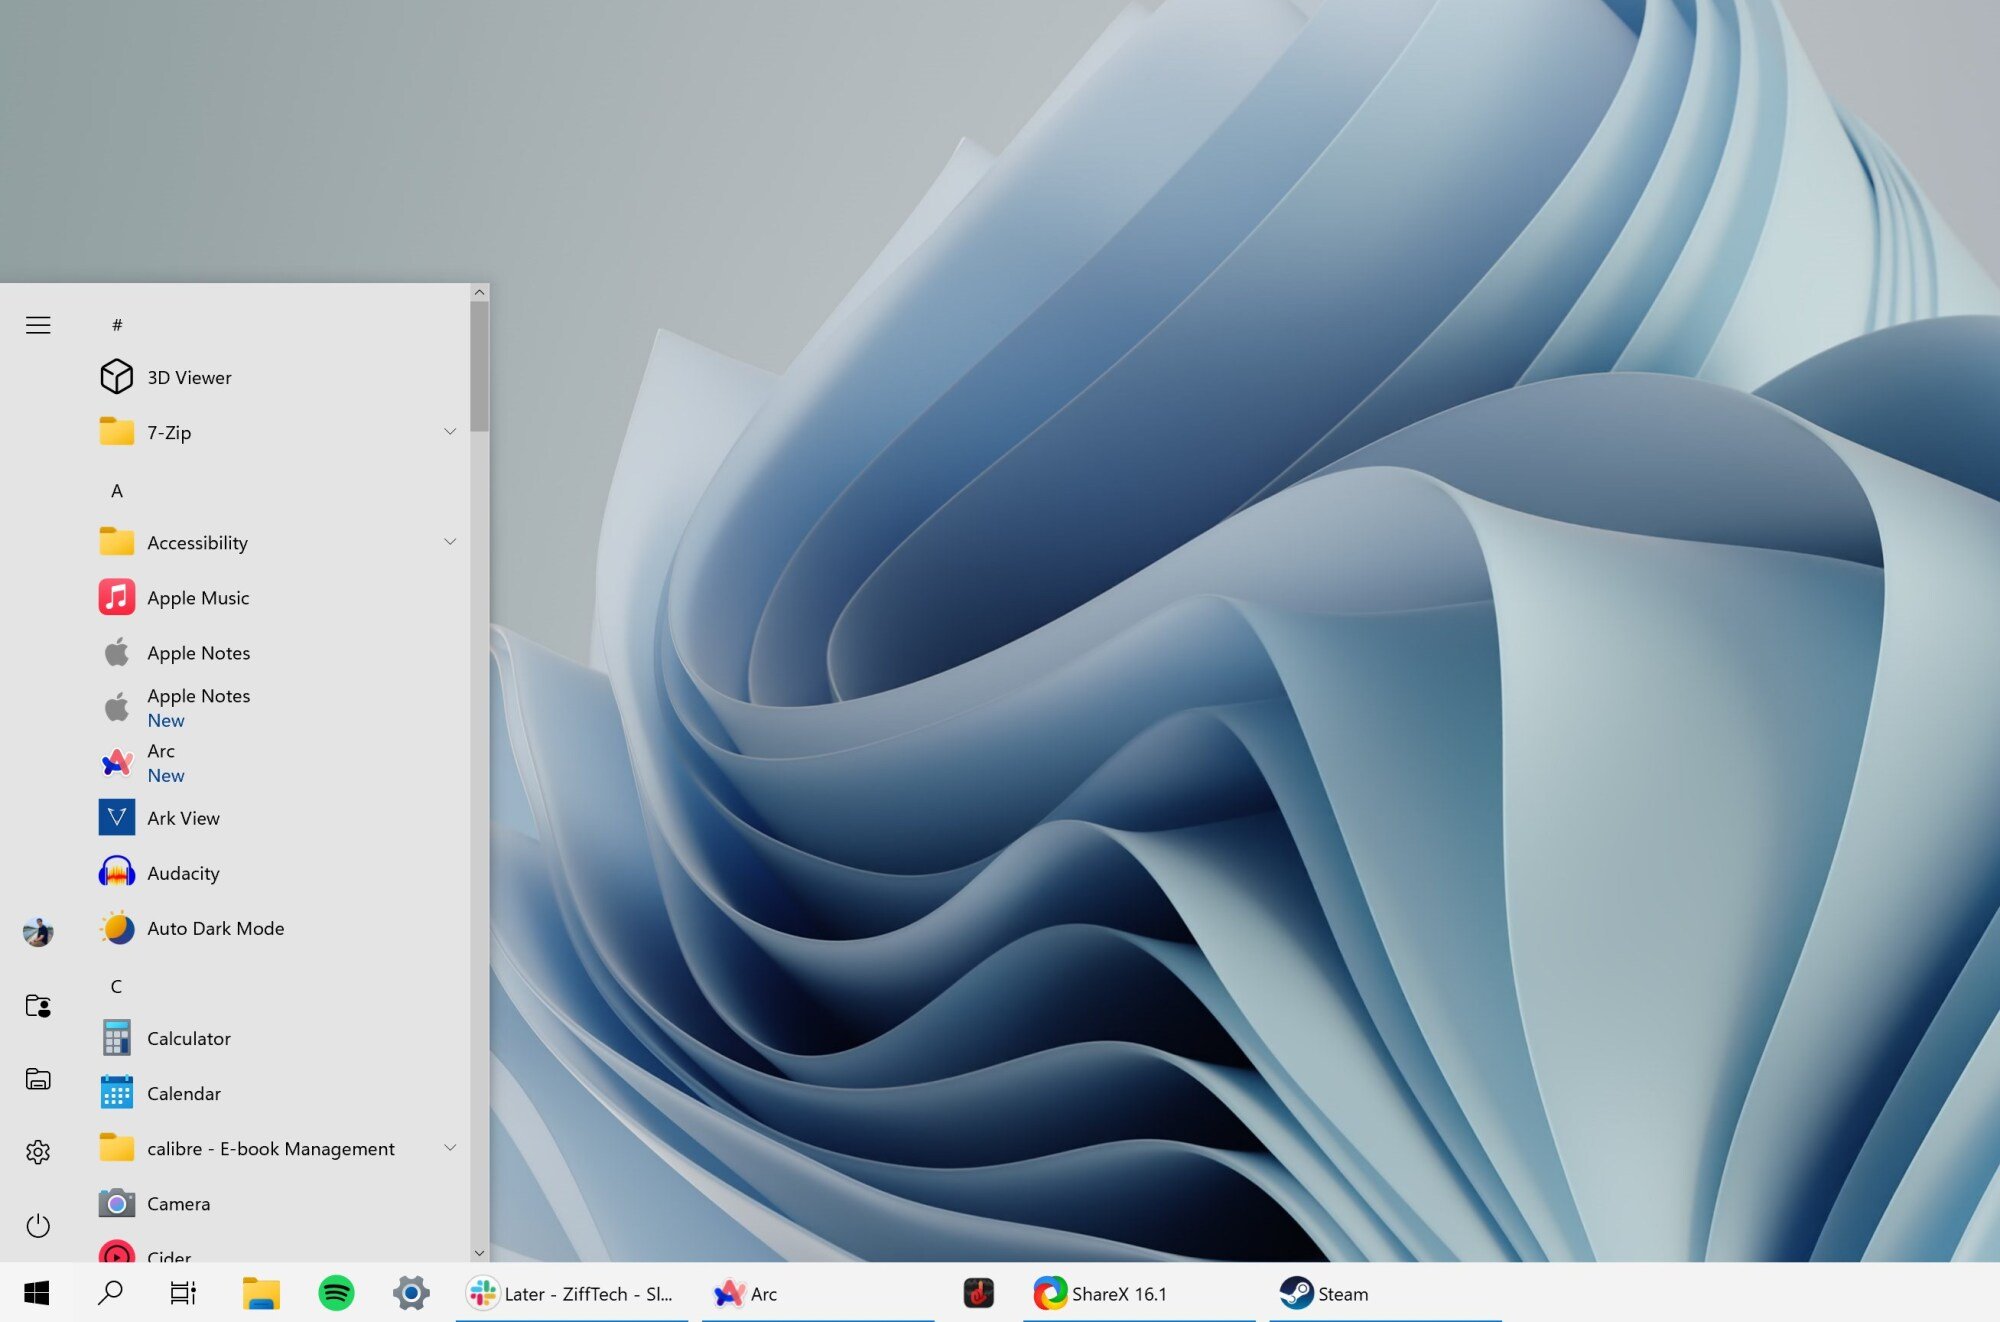
ExplorerPatcher is a free, open-source tool that brings back Windows 10’s File Explorer, Start menu, and taskbar. It is a really easy-to-use, one-click tool with a ton of customization options. It allows you to return to a condensed and basic Start menu. For additional information on using ExplorerPatcher, click this link.
Make the Windows 11 Start menu much better with StartAllBack
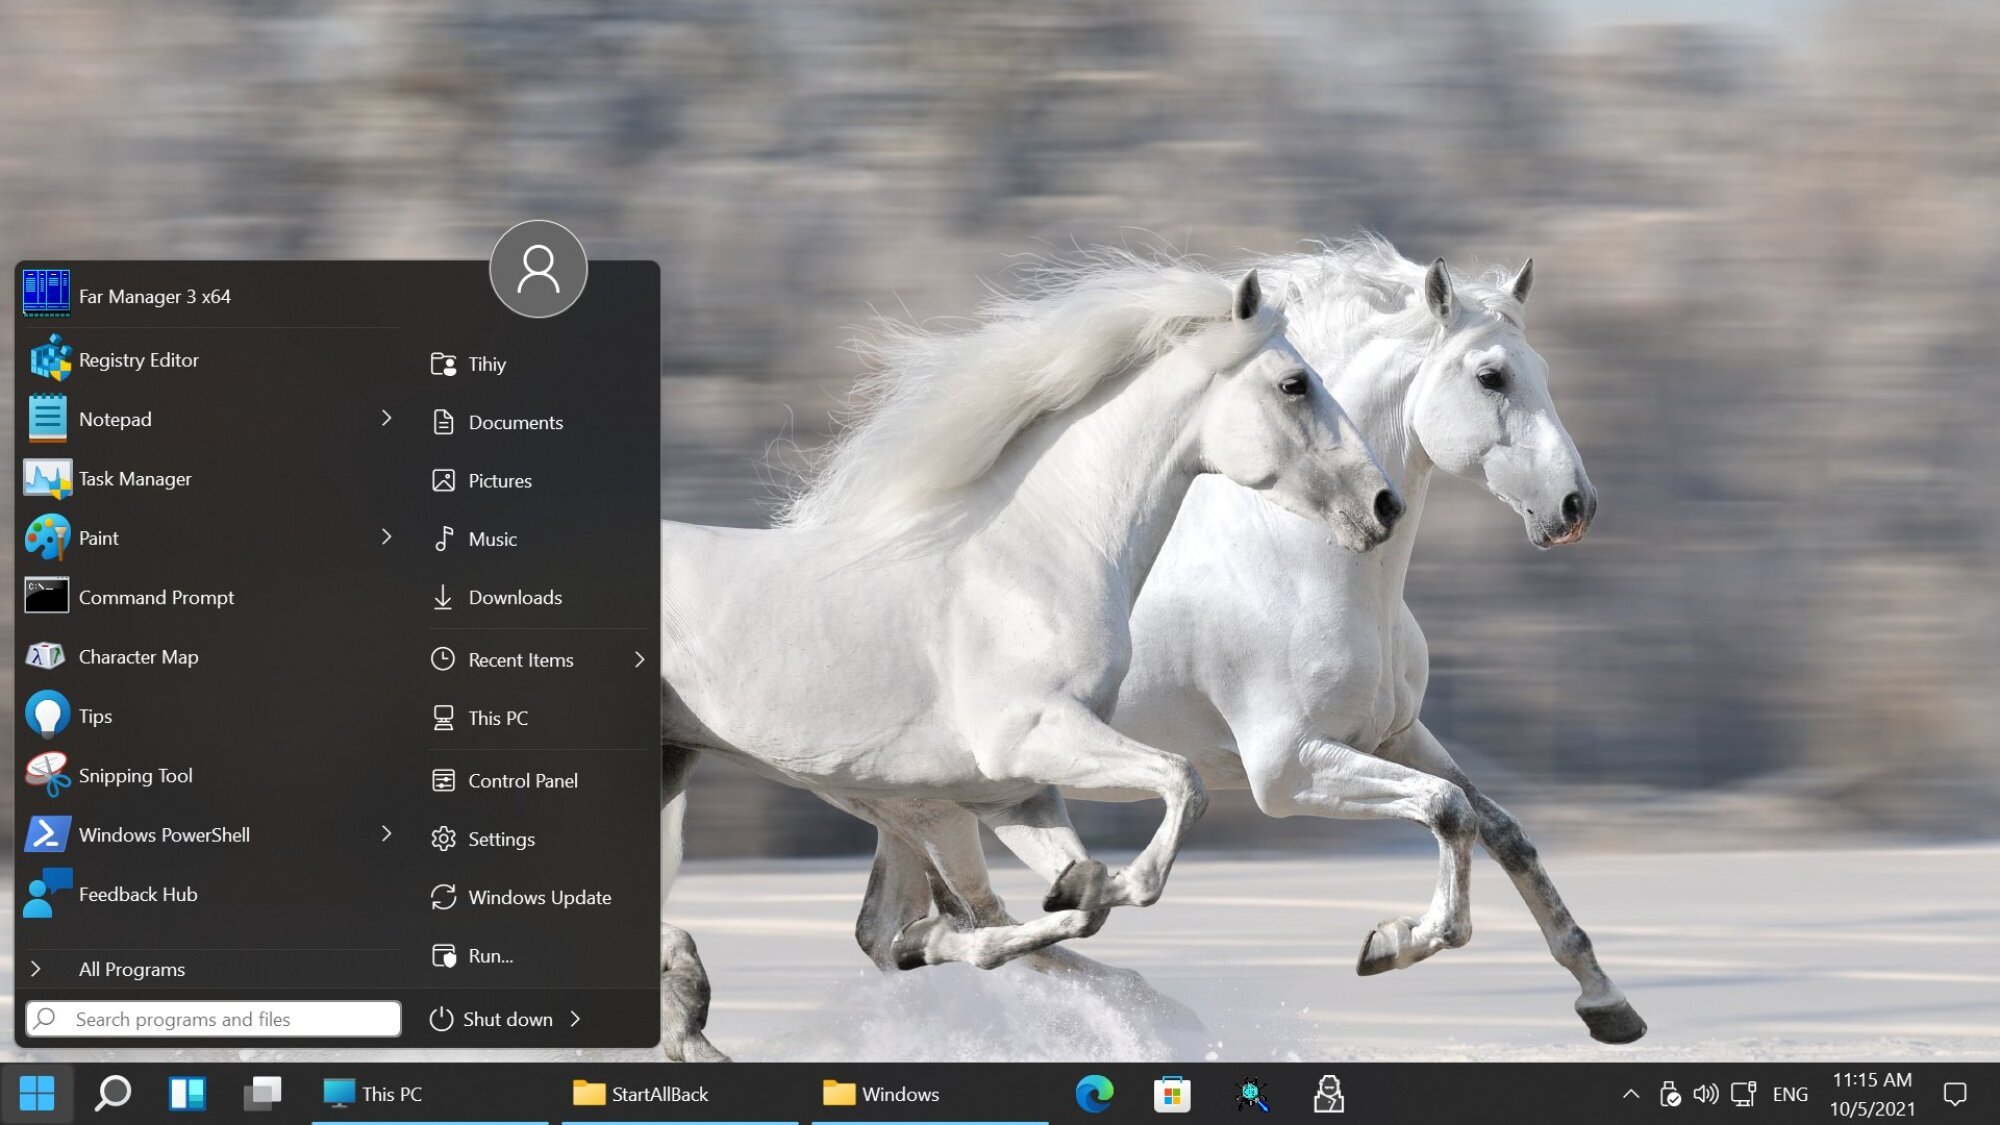
Another feature-rich Start menu substitute that focuses more on adjustments is called StartAllBack. Although you have the option to use a Windows 7 look, this program really shines when it comes to the vast array of customizations you may apply to the Windows 11 Start menu.
You can center your program icons, swap out the taskbar icons, restore the app labels, and maintain the Start menu docked to the left. The start menus in Windows 10 and Windows 7 can also be customized with themes.
Ignore the Start menu and use the PowerToys Run launcher instead
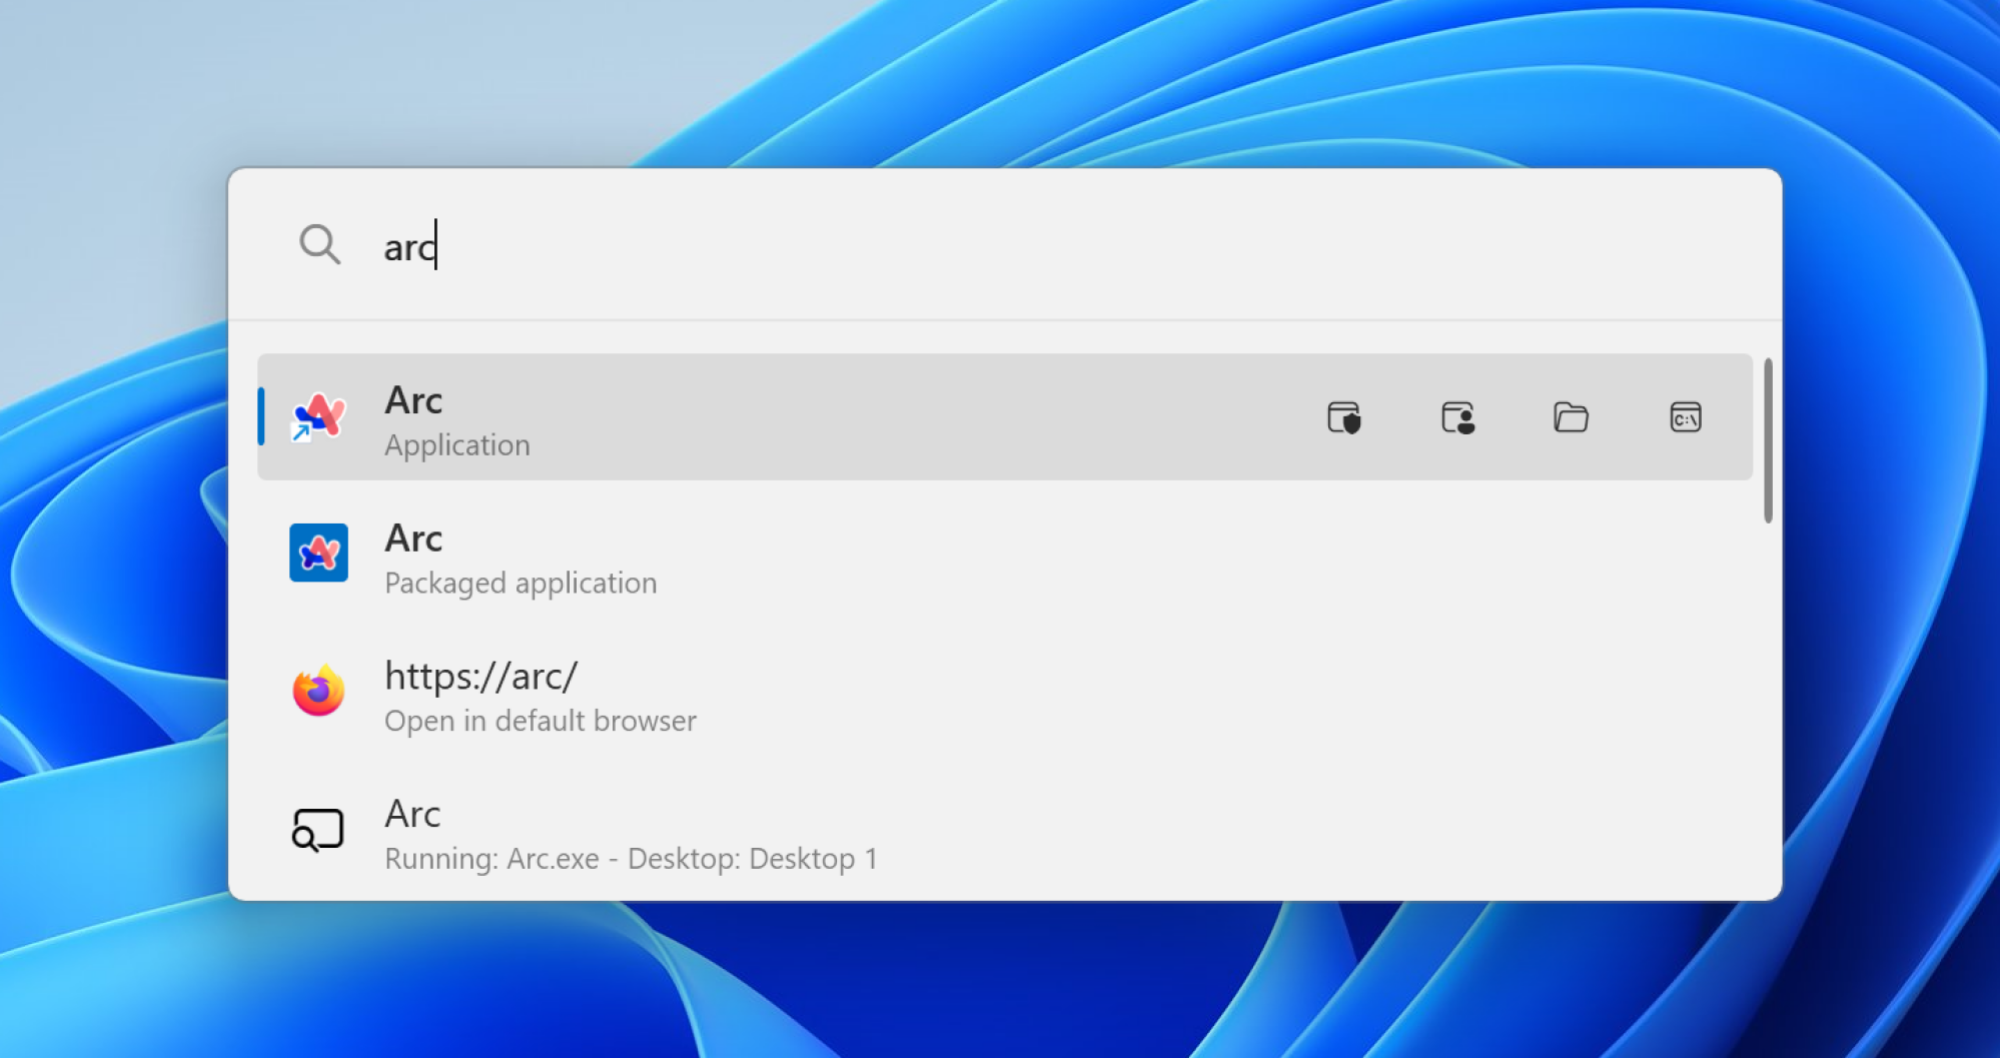
This is a bold suggestion: Give up on using the Start menu completely. In any case, consider how helpful is it. The Start menu can not be completely disabled, but you can ignore it and use a better option in its place. We suggest using the PowerToys keyboard launcher for this. It allows you to launch apps, actions, and tasks from the keyboard and is comparable to Spotlight on the Mac.
To open it, press Alt + Space. Type to launch an application, visit a webpage, or perform quick math. The top PowerToys shortcuts are listed here.